haotaitai品牌
尊龙凯时平台官网的产品中心
媒体中心
合作咨询
尊龙凯时平台官网的服务支持
品牌简介
品牌历程
品牌实力
品牌文化
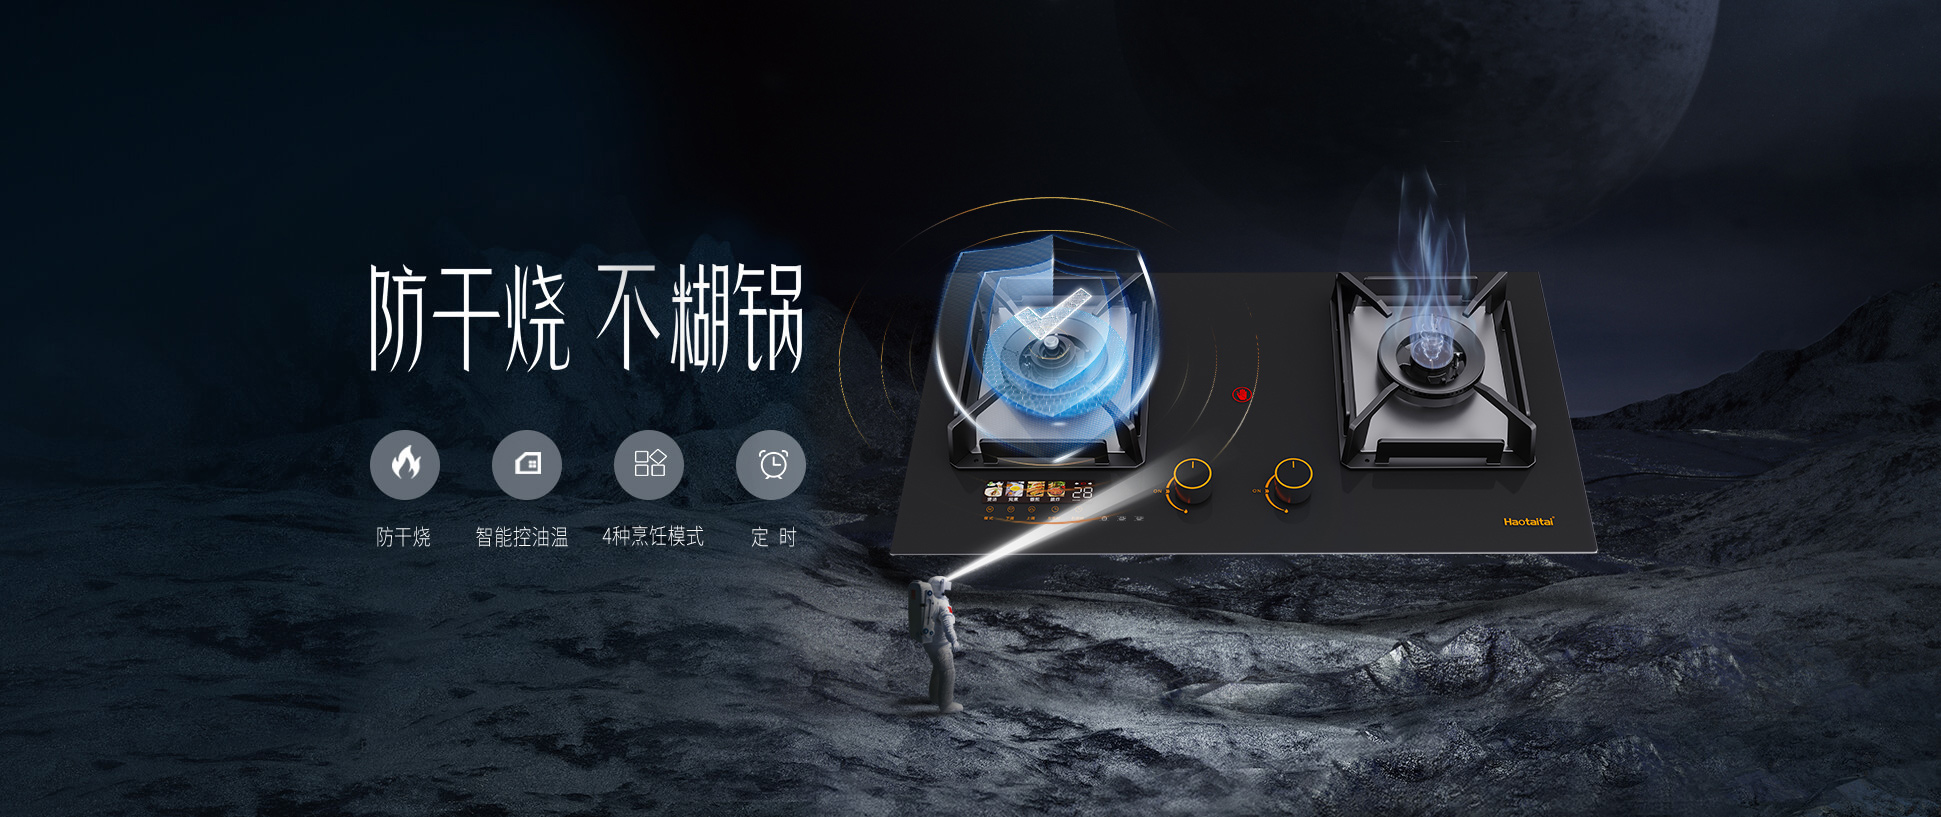
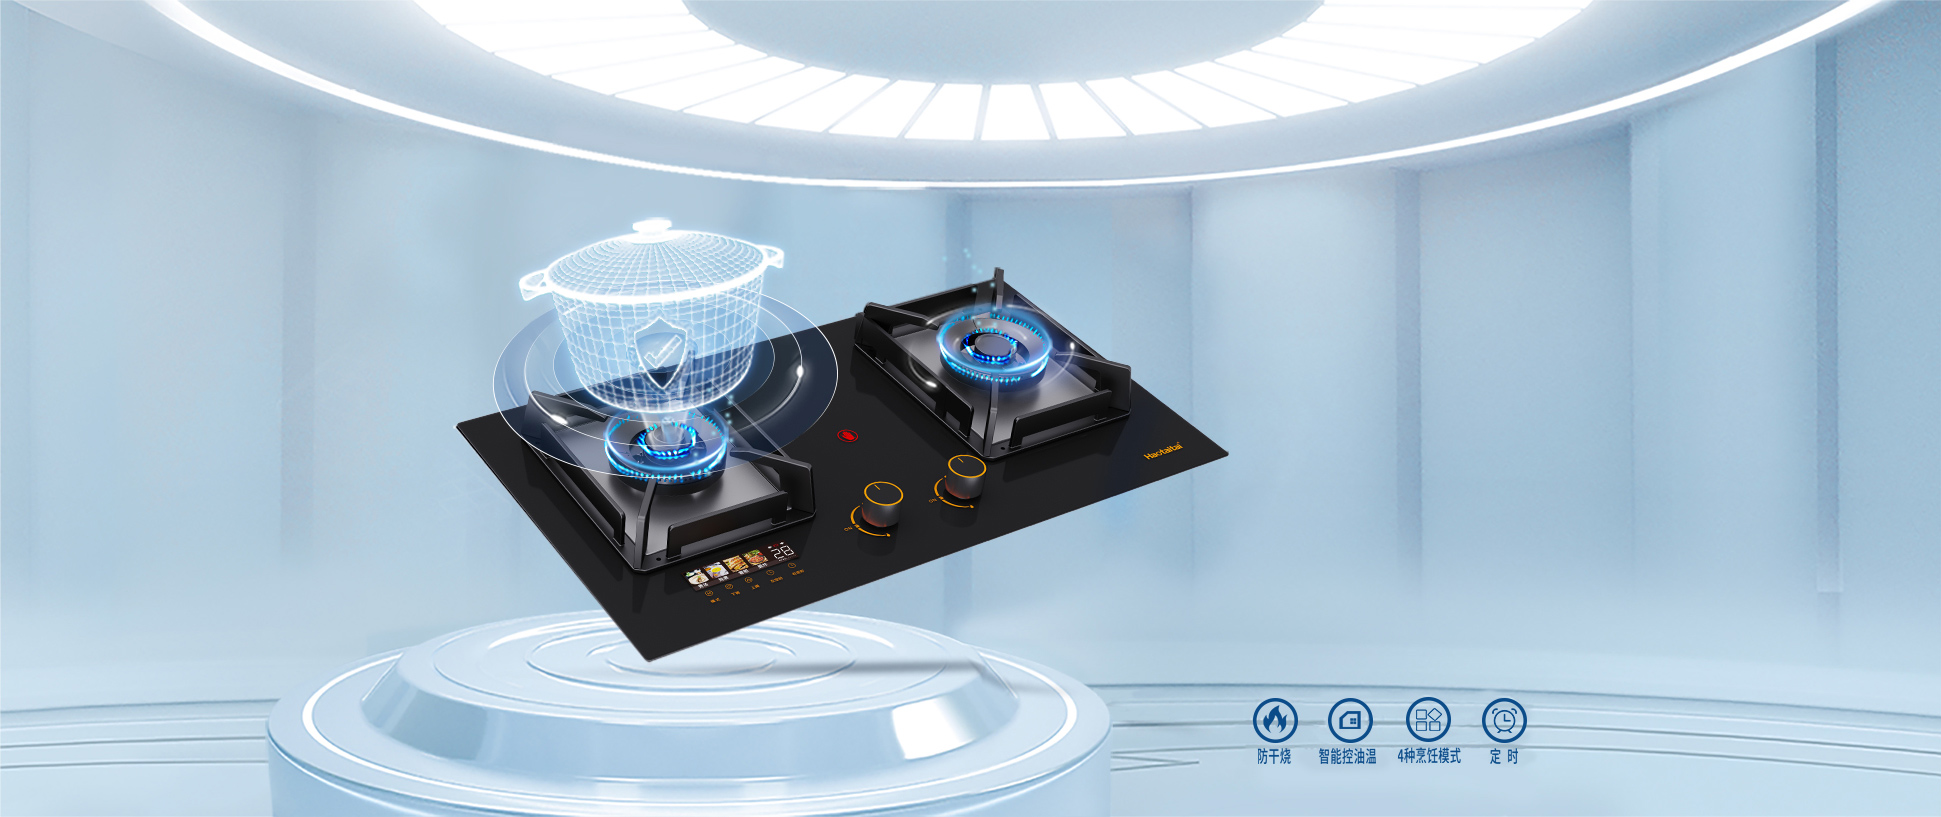
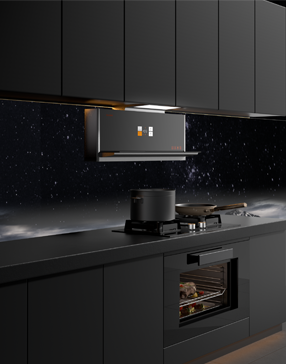
集成灶
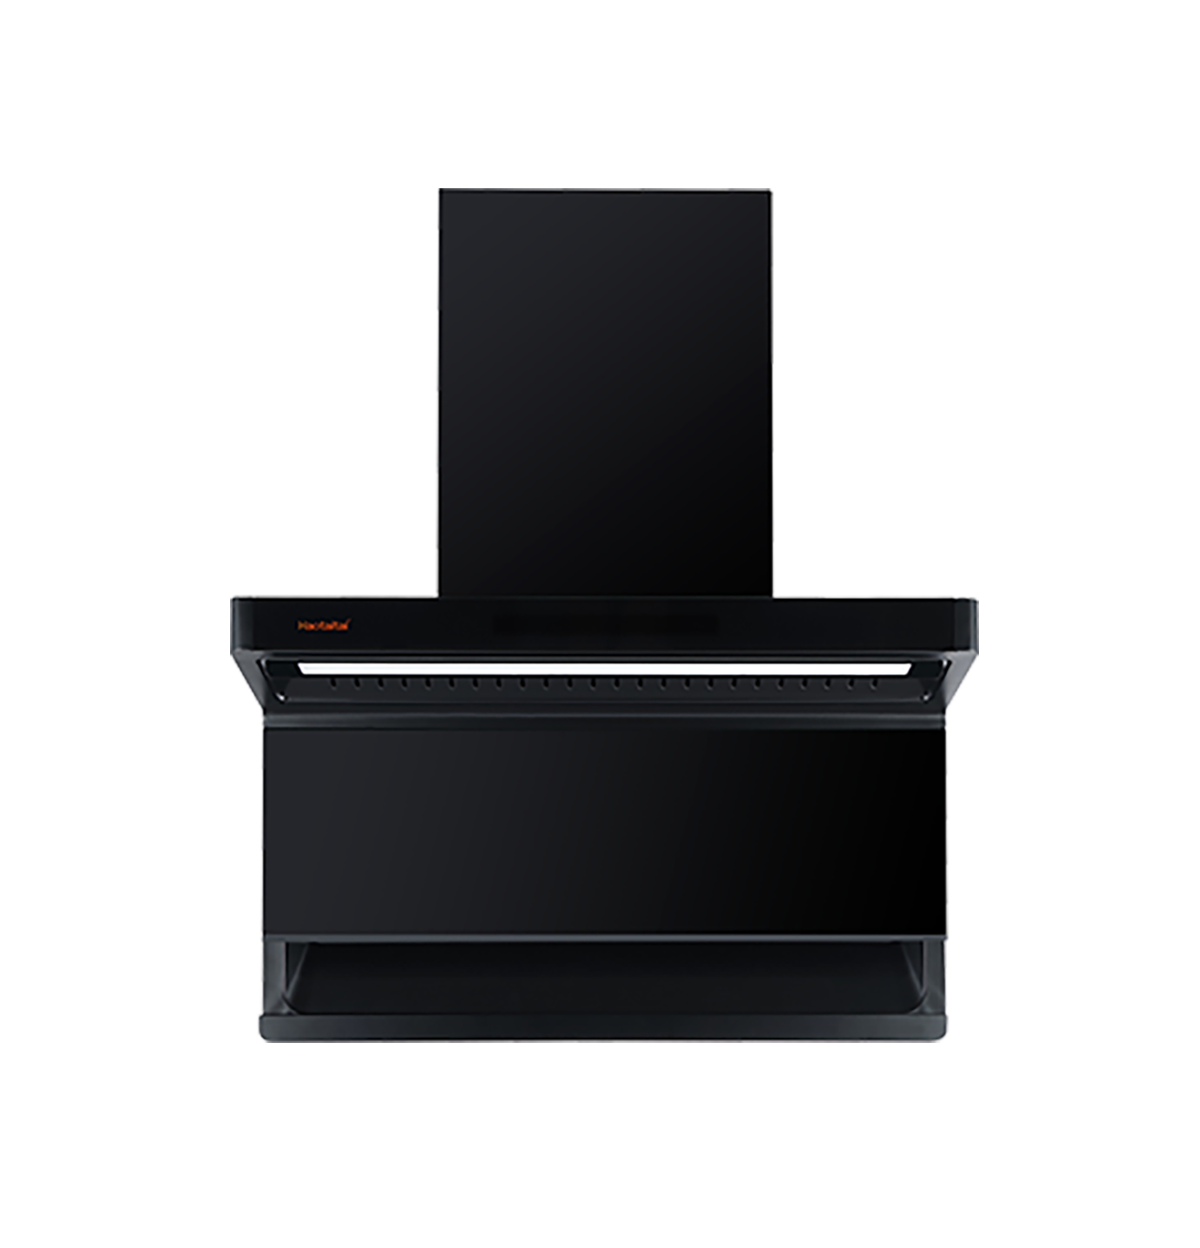
吸油烟机
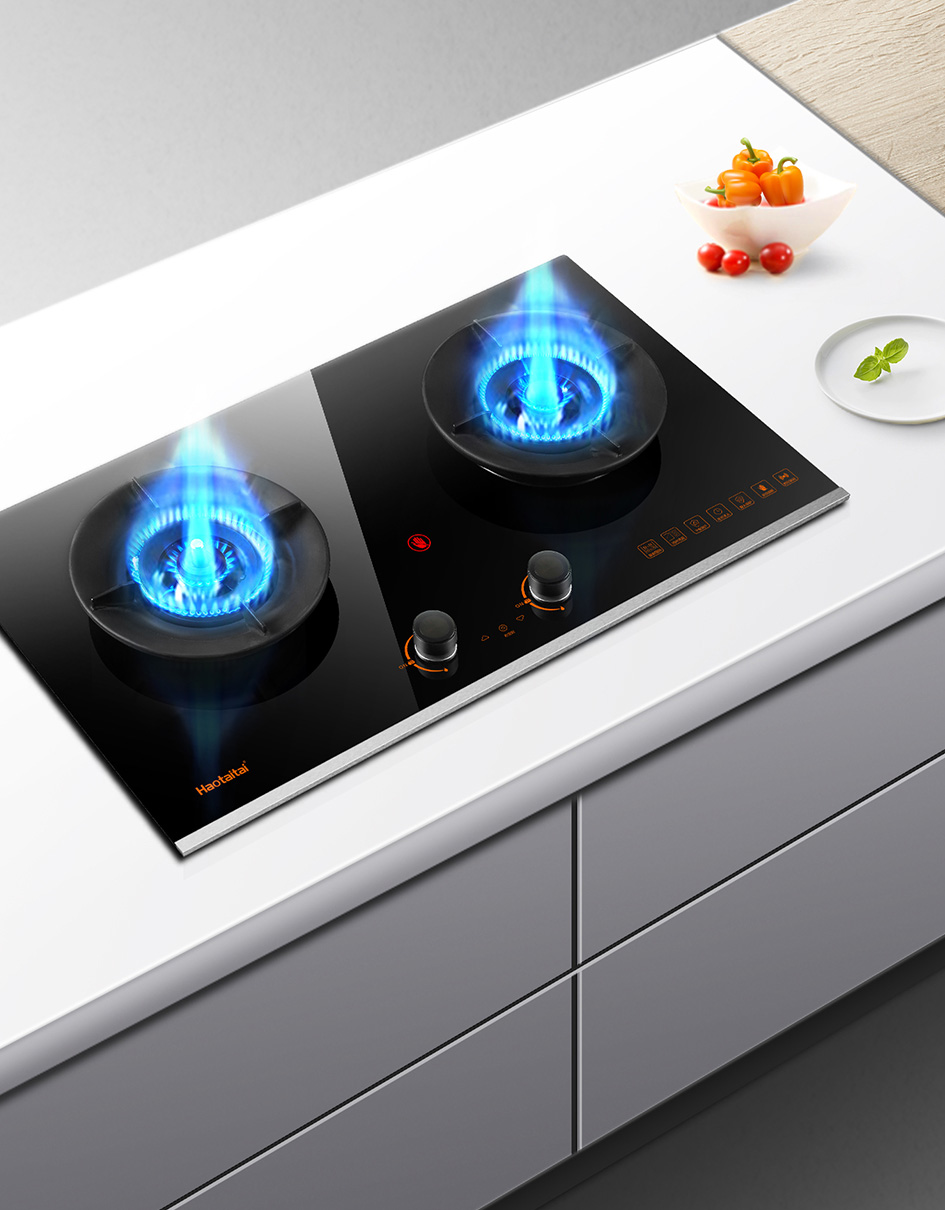
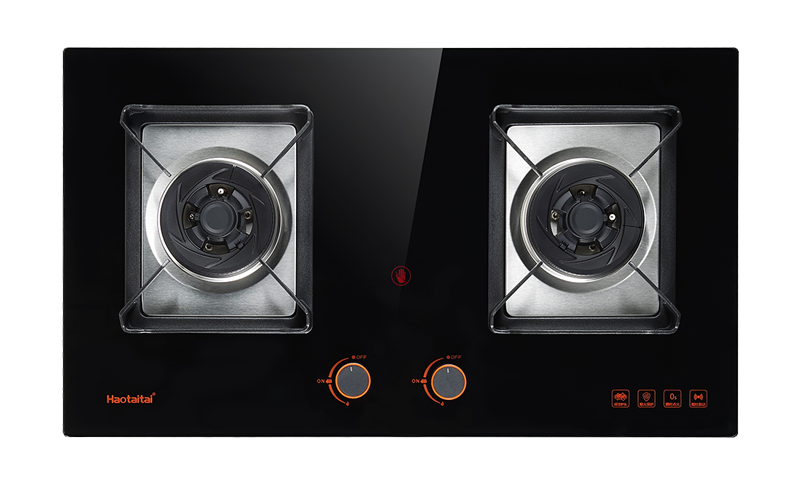
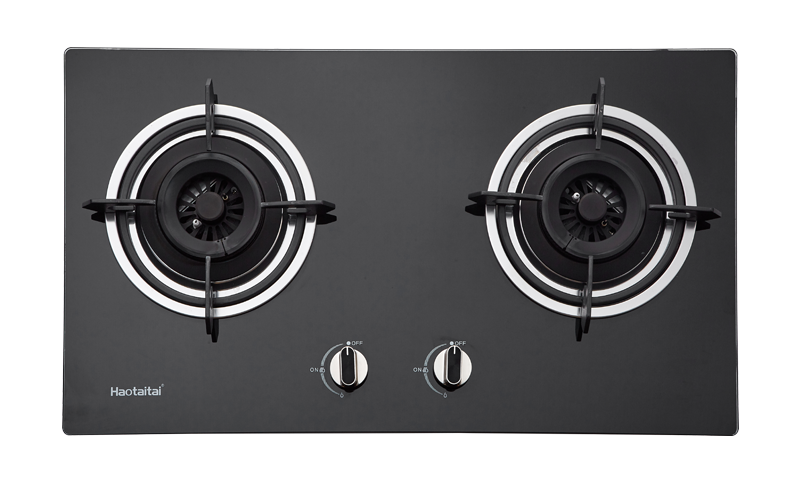
燃气灶具
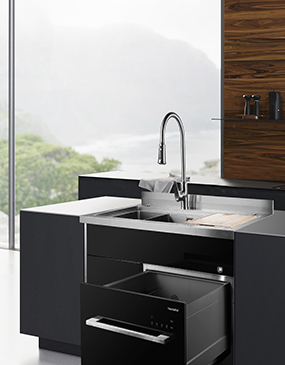
集成水槽
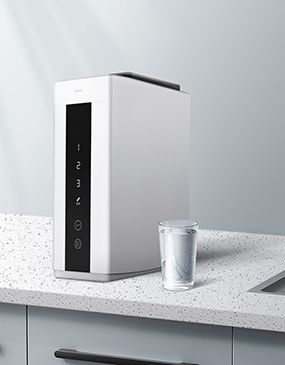
净水机
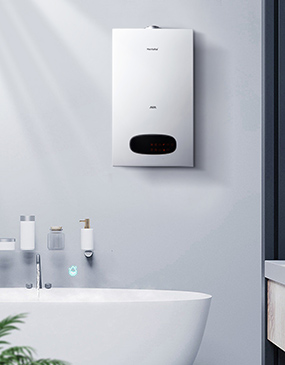
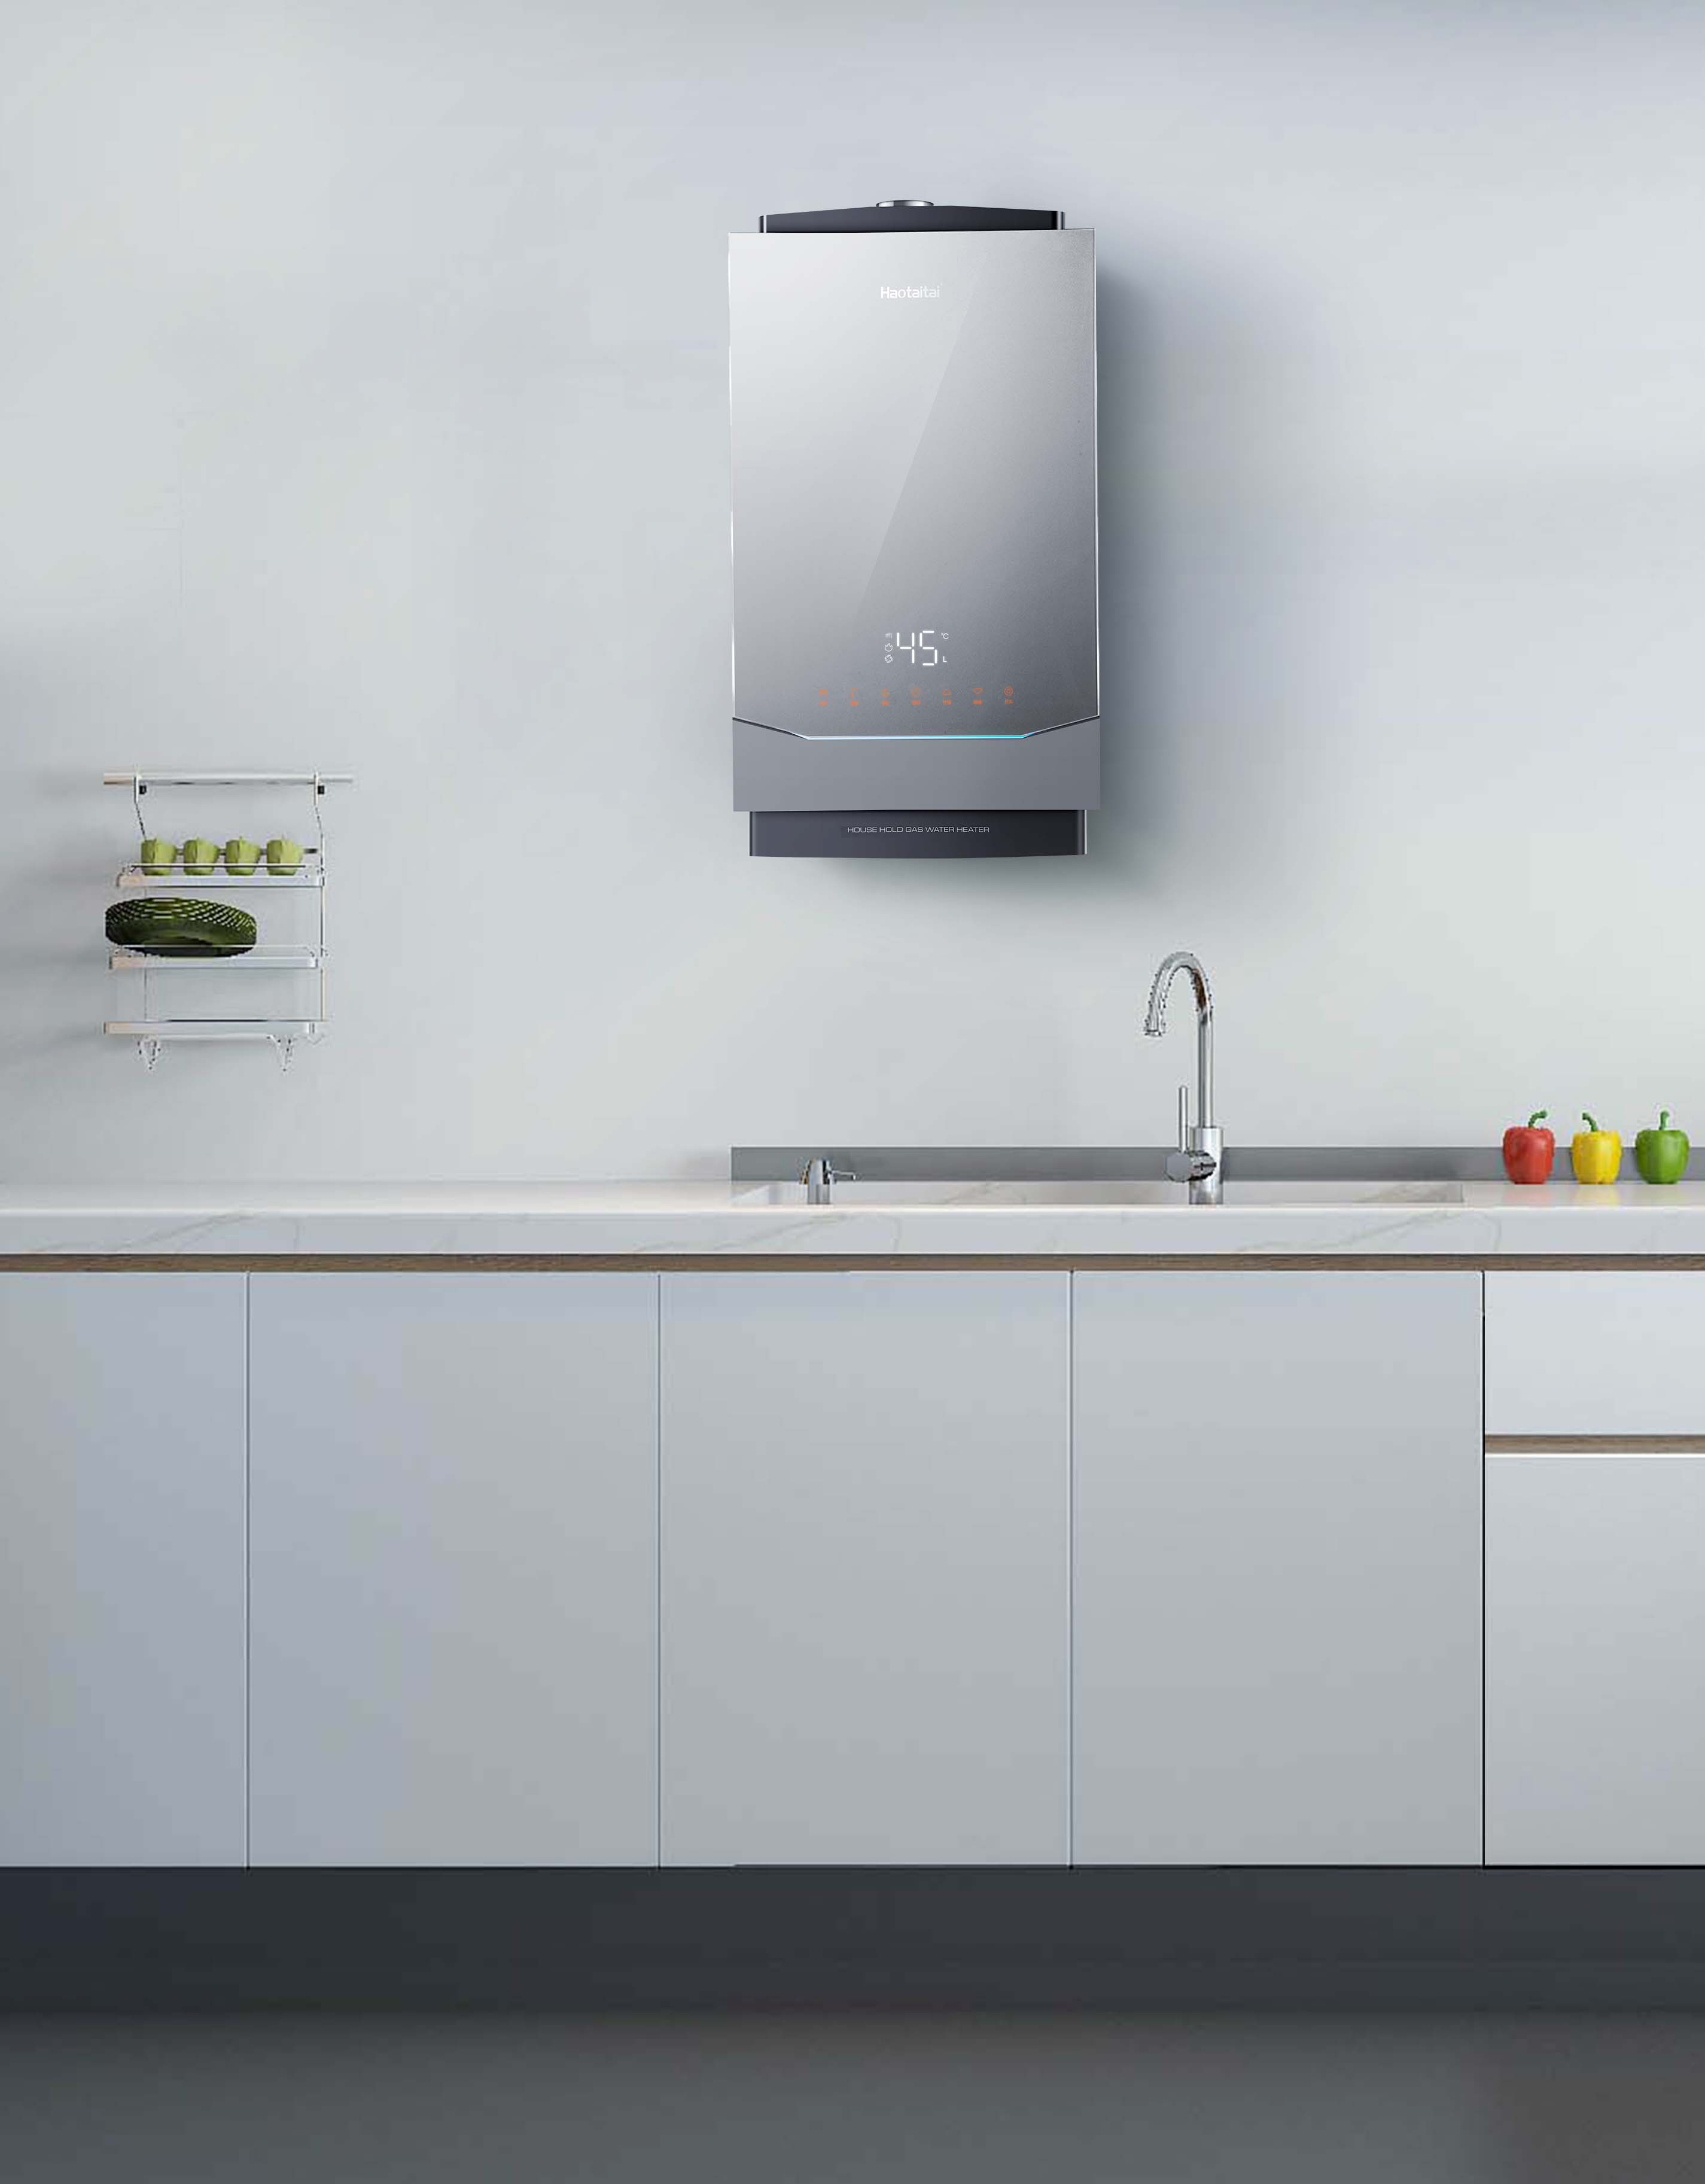
壁挂炉
热水器
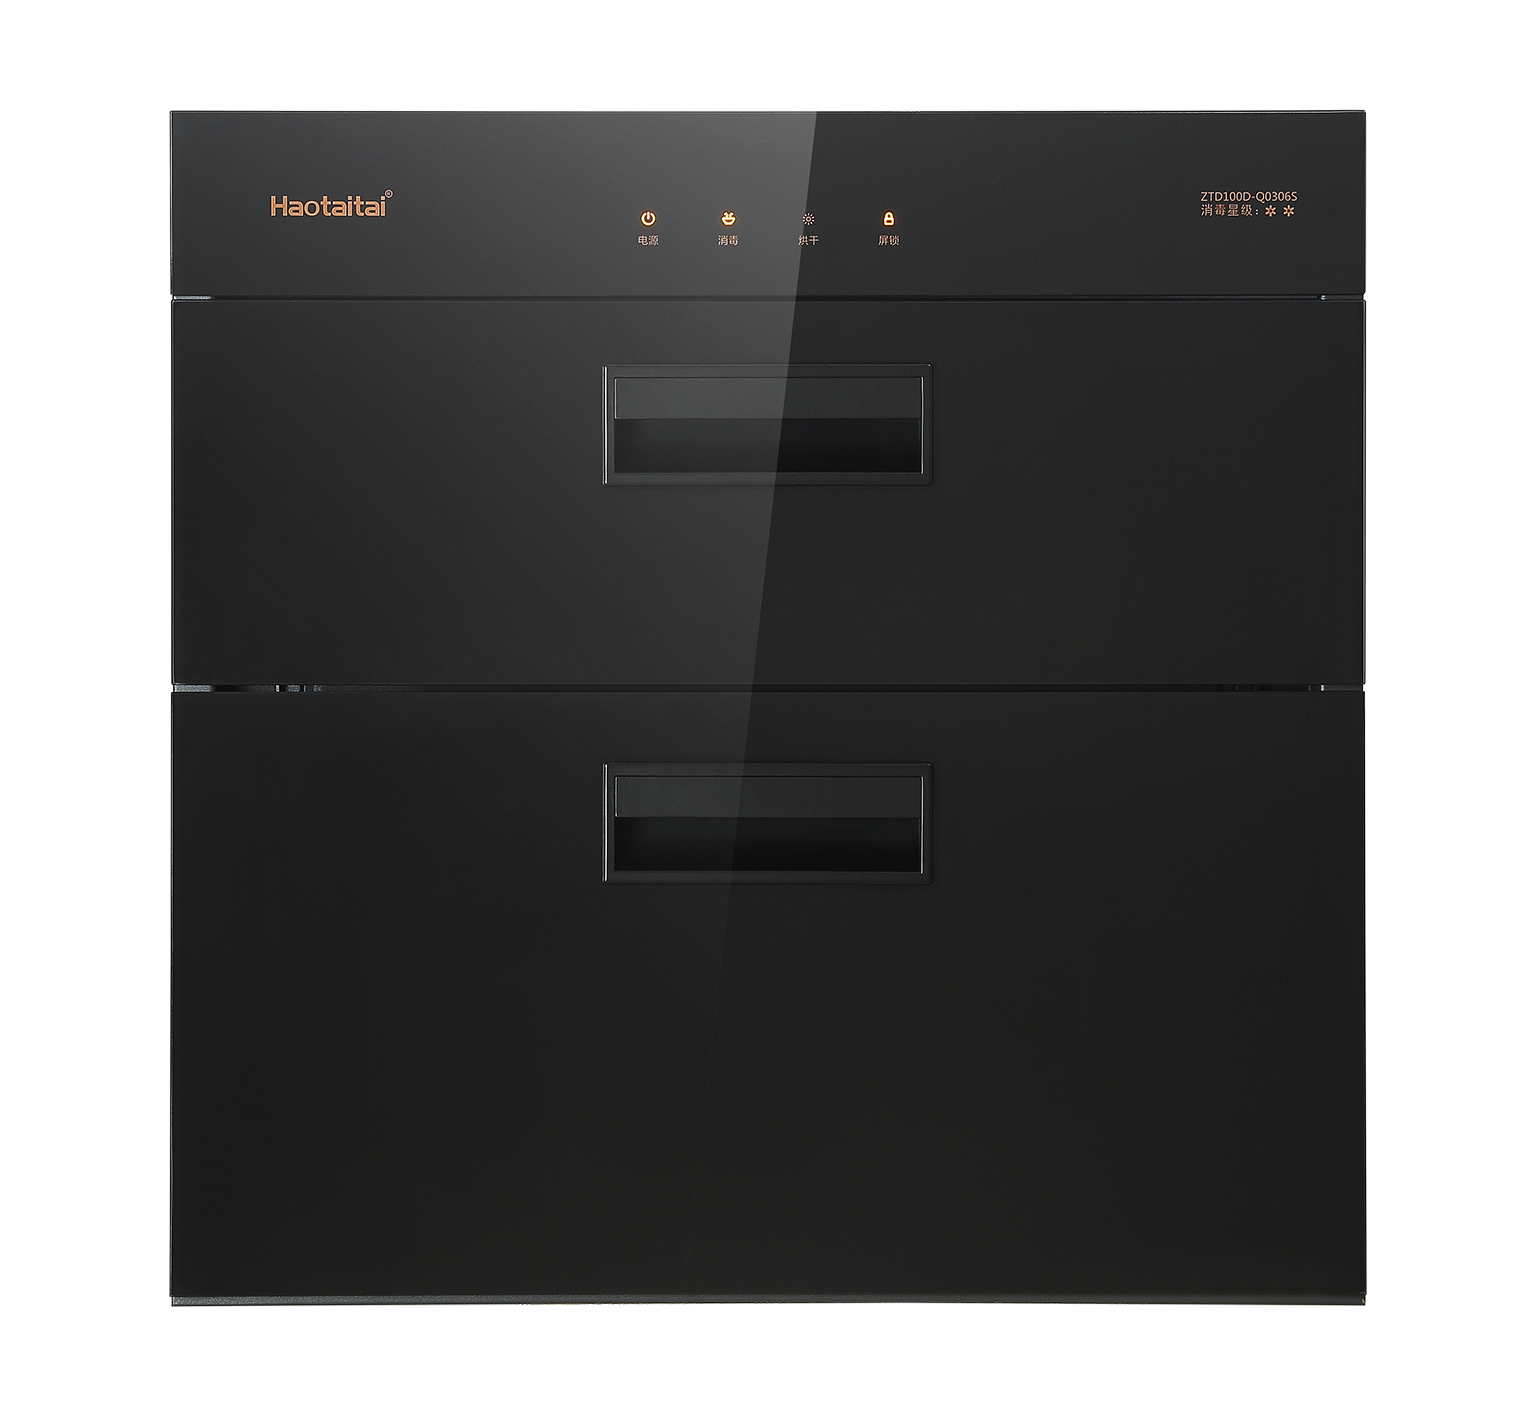
消毒柜
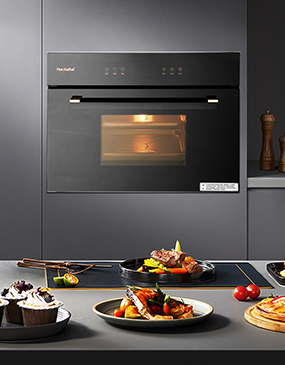
蒸烤一体机
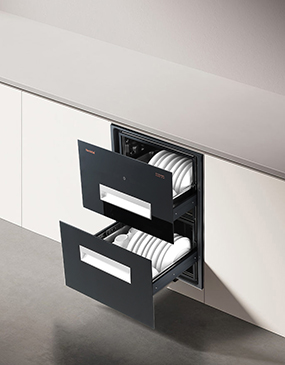
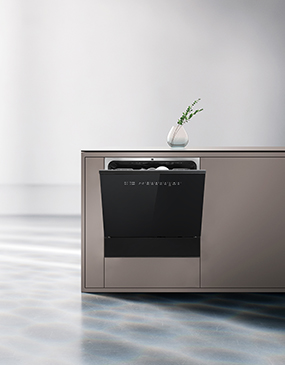
洗碗机
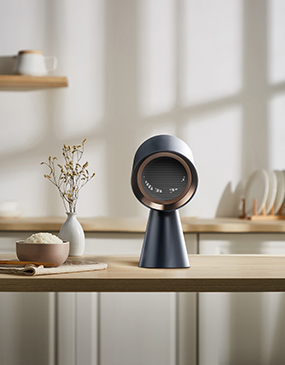
小家电
集成烹饪中心
品牌资讯
产品解读
视频
联系尊龙凯时平台官网
招商加盟
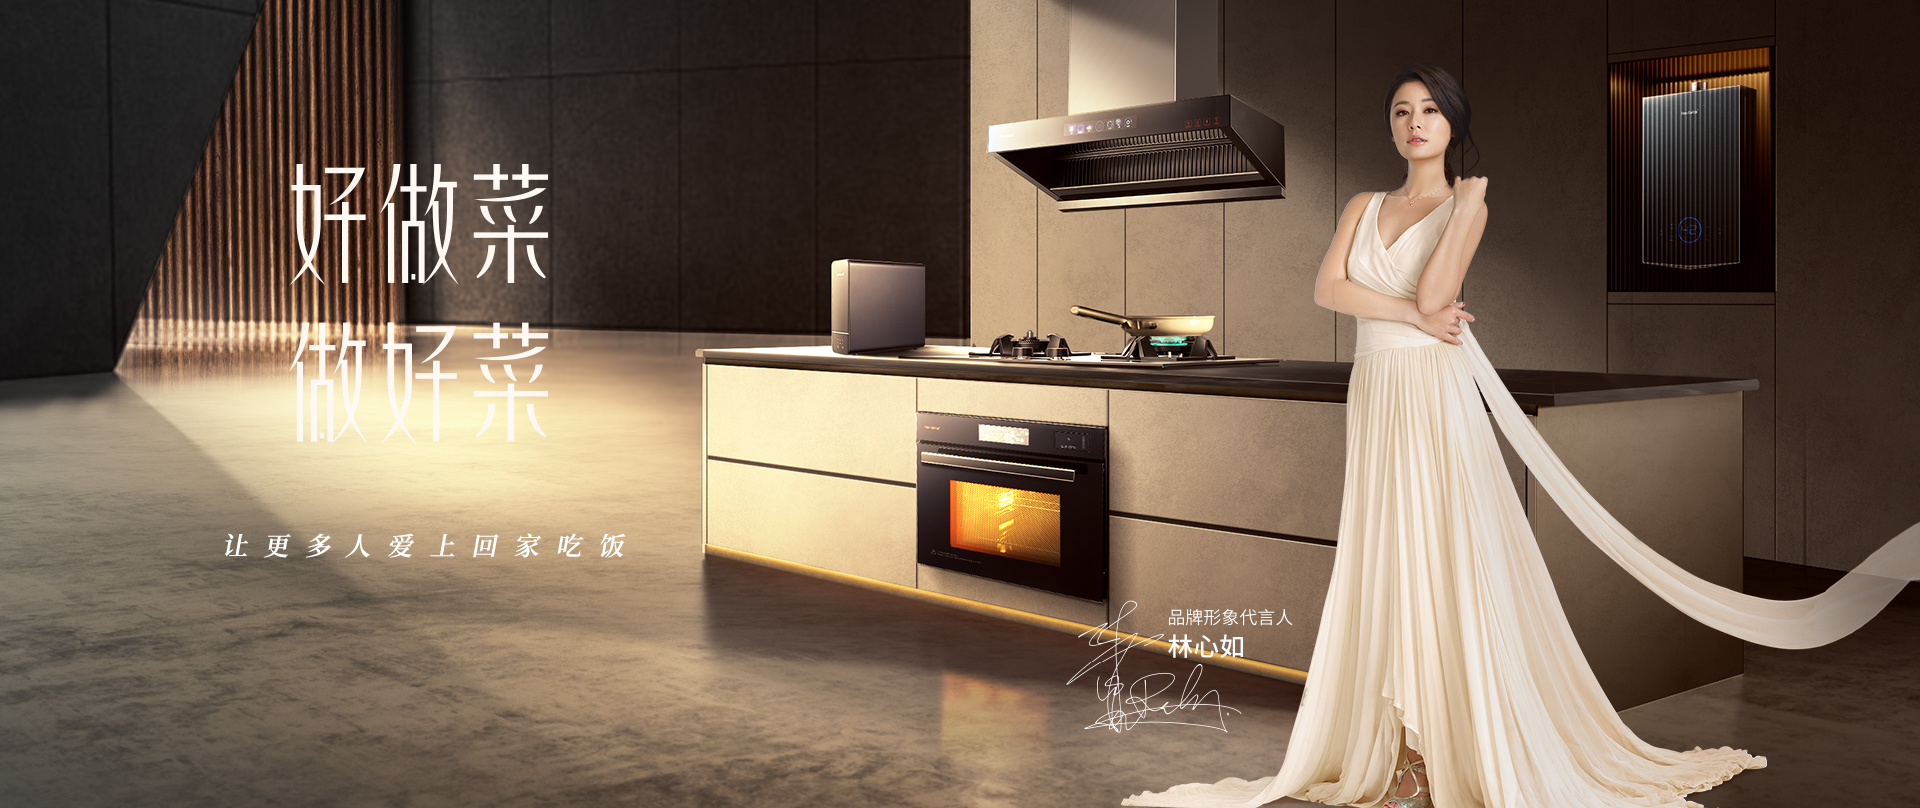
以对集成智慧厨房的专注与坚持,向着“让更多人爱上回家吃饭”的宏伟使命昂首迈进。
尊龙凯时平台官网的产品中心 |
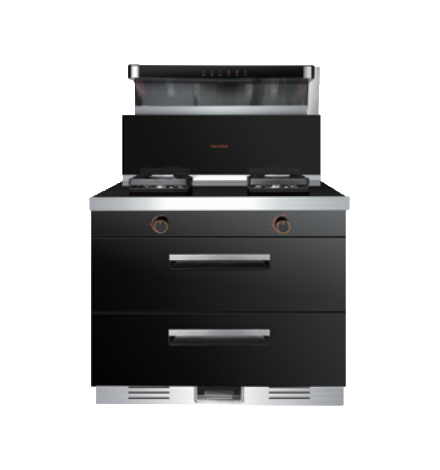
jzy/t-a2603b3
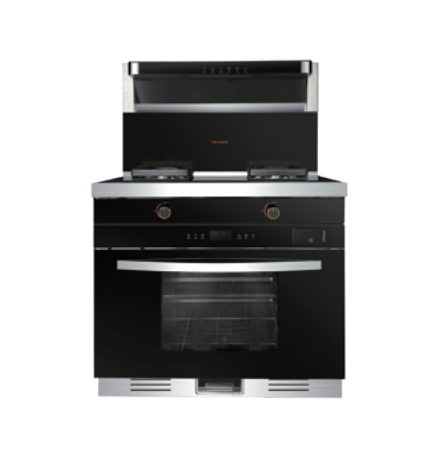
ztd100d-q0306s
9025x升级款
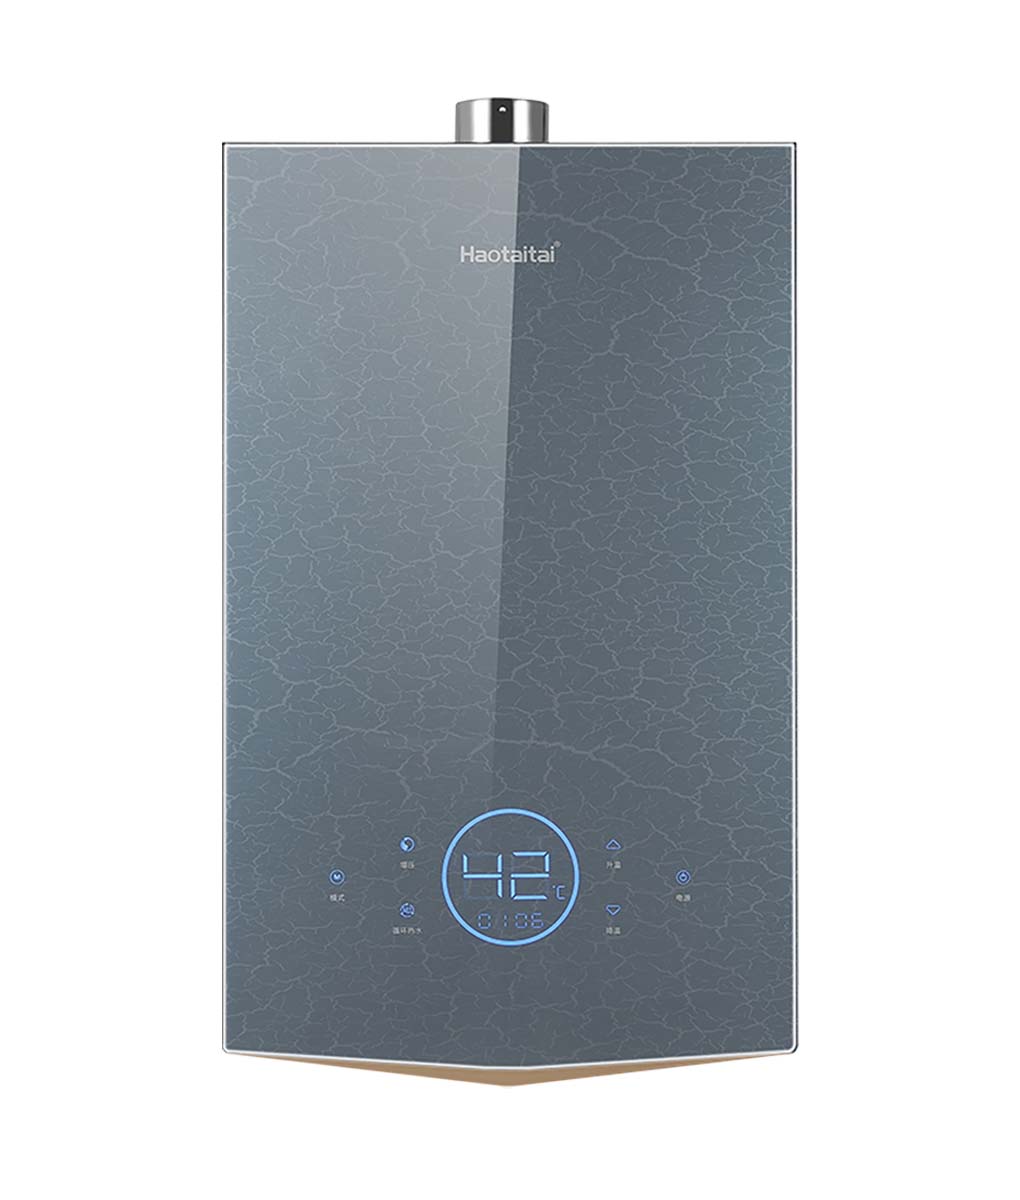
jsq25-13n6/jsq30-16n6
9025s升级款
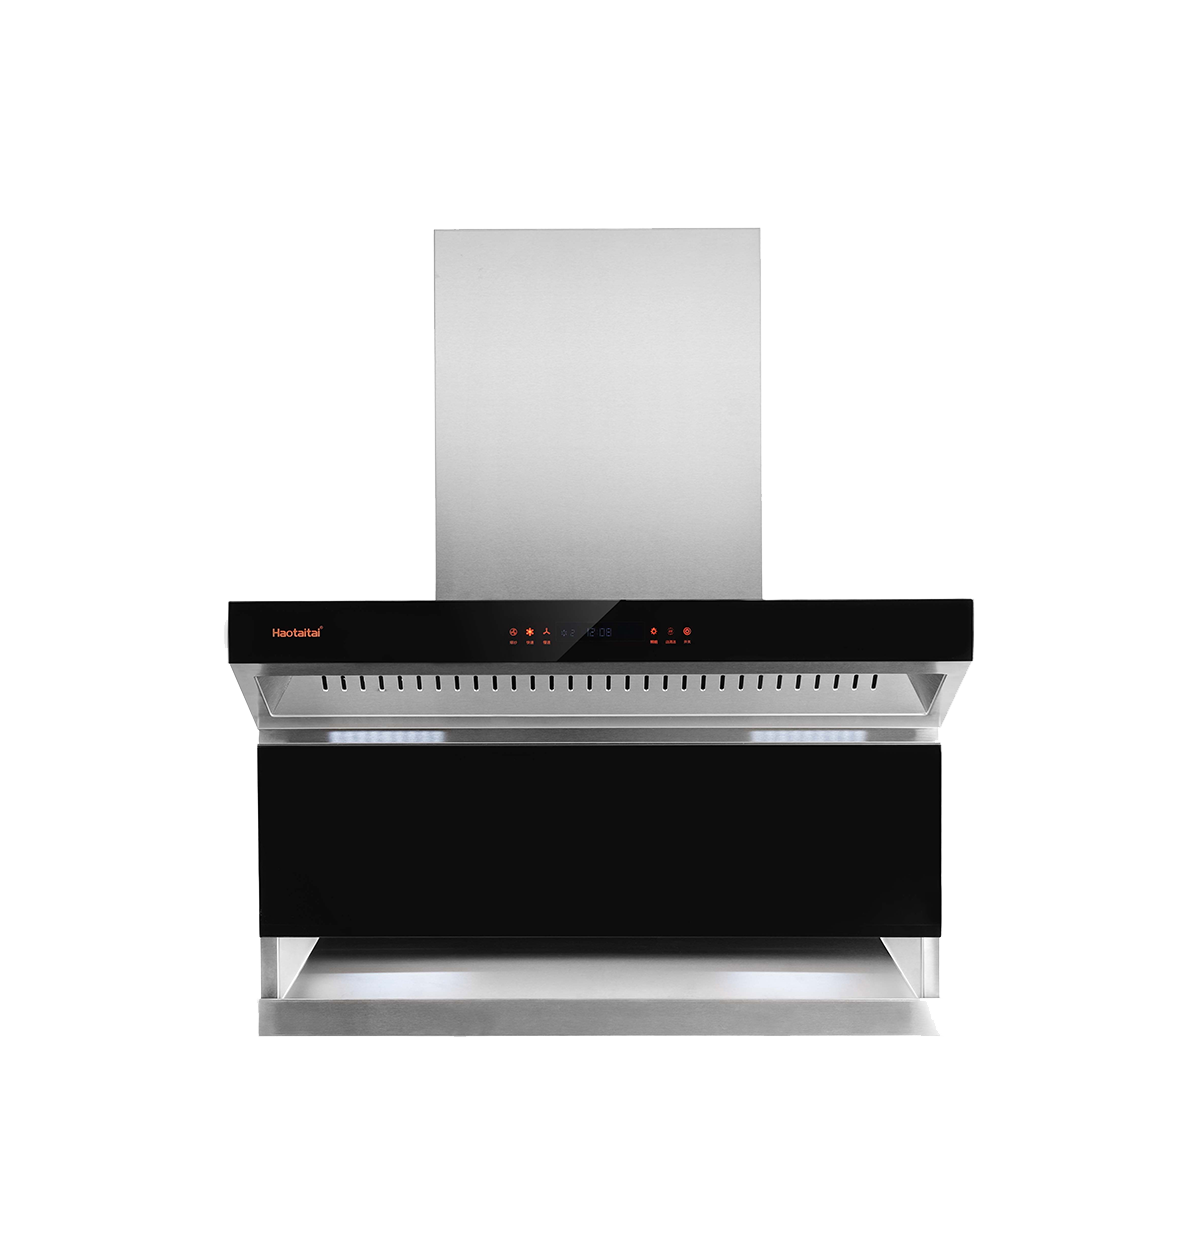
cxw-300-k8606
cxw-300-k8608
jzt/y-2191b1
2023年12月10日,haotaitai品牌迎来了新模式探索的重要一刻——广州富力家信体验店正式开业。这是haotaitai品牌......
27年来haotaitai始终在厨房电器领域不断探索,在健康人居环境领域做出了卓越贡献,赢......
“烹燃心动·创灶未来”7月3日,haotaitai品牌2023年度营销峰会在河南郑州圆满闭......
随着疫情影响逐渐消退,在经济韧性逐渐复苏的大背景下,家电行业迎来回暖,市场整体向好复苏......
共创健康环境,共享美好生活健康环境是人民群众健康的重要保障。“健康环境促进”被纳入健康中国......
服务热线
在线客服